Shaker Nesting Boxes - Paper Plan
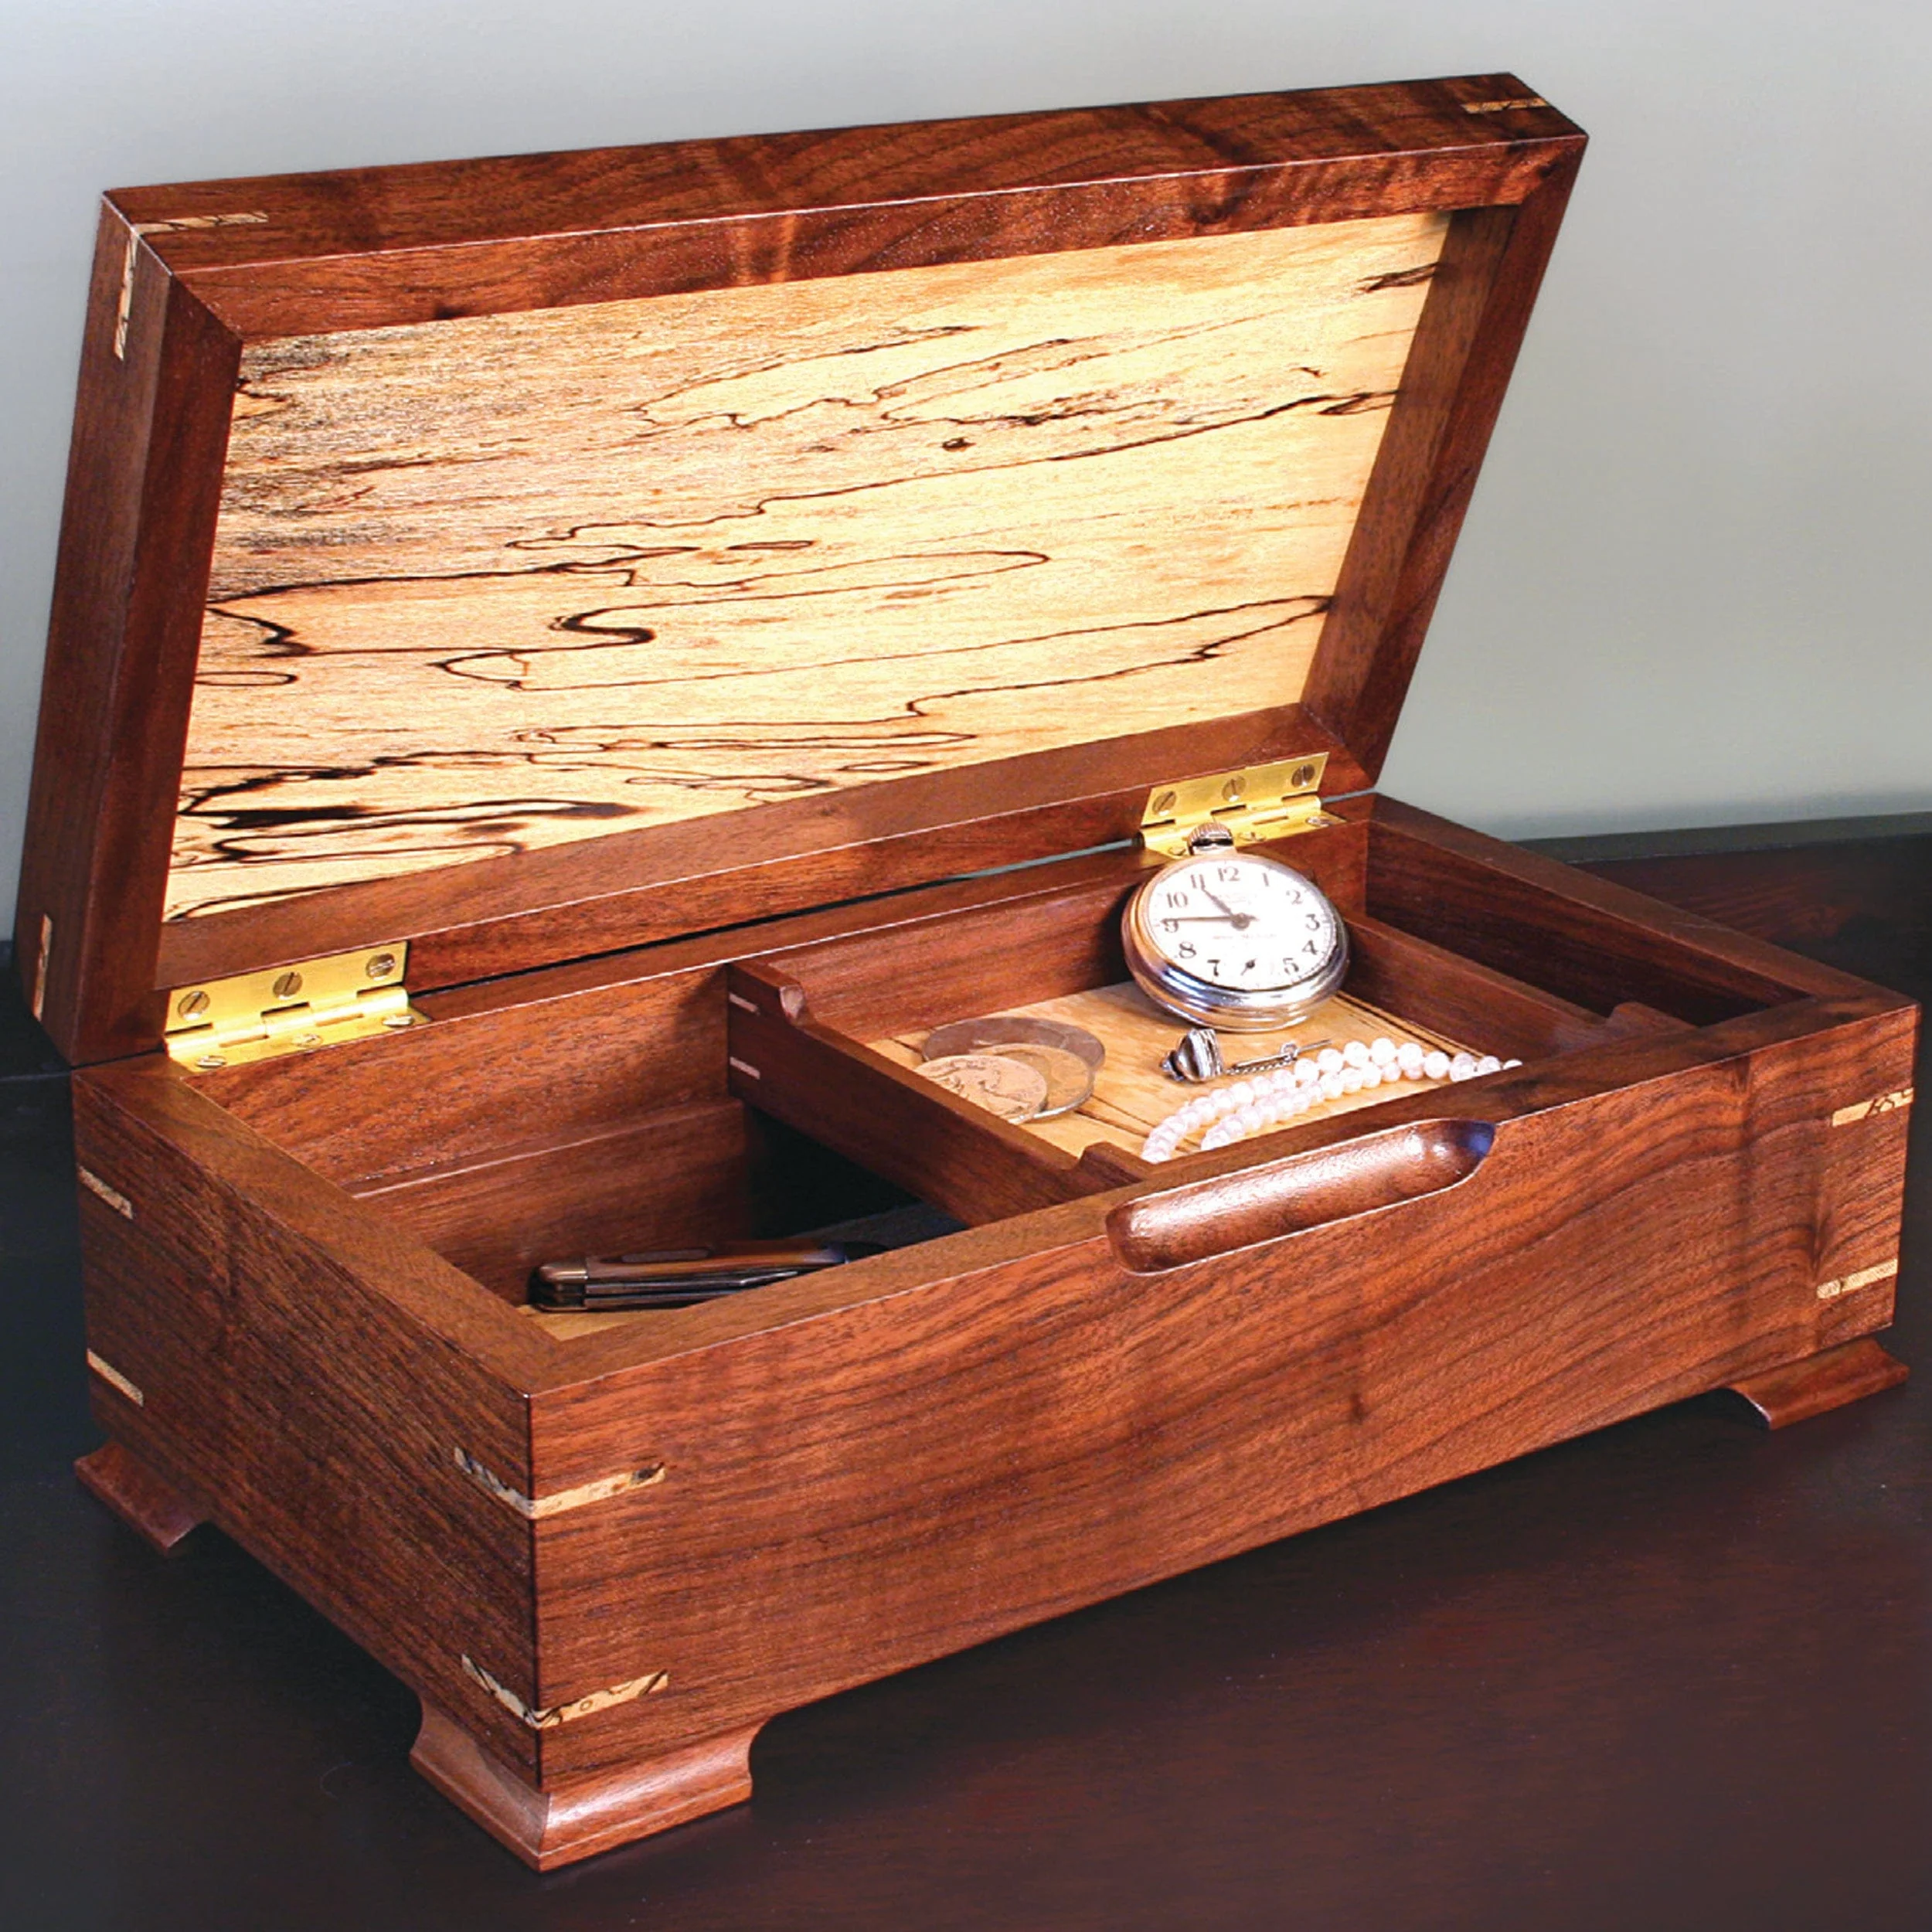
Shaker lidded boxes have a traditional charm, simplicity, and utility rarely seen in other storage systems. I like the reddish hue of cherry to give the boxes a beautiful old-time look. I also like using cherry because of its bending ability when steamed. I prefer cherry for the box bottoms and lid tops, though you can substitute sycamore, hard maple, lacewood, or just about any wood for these parts for a unique look. Keep in mind that quartersawn stock is less susceptible to expansion.
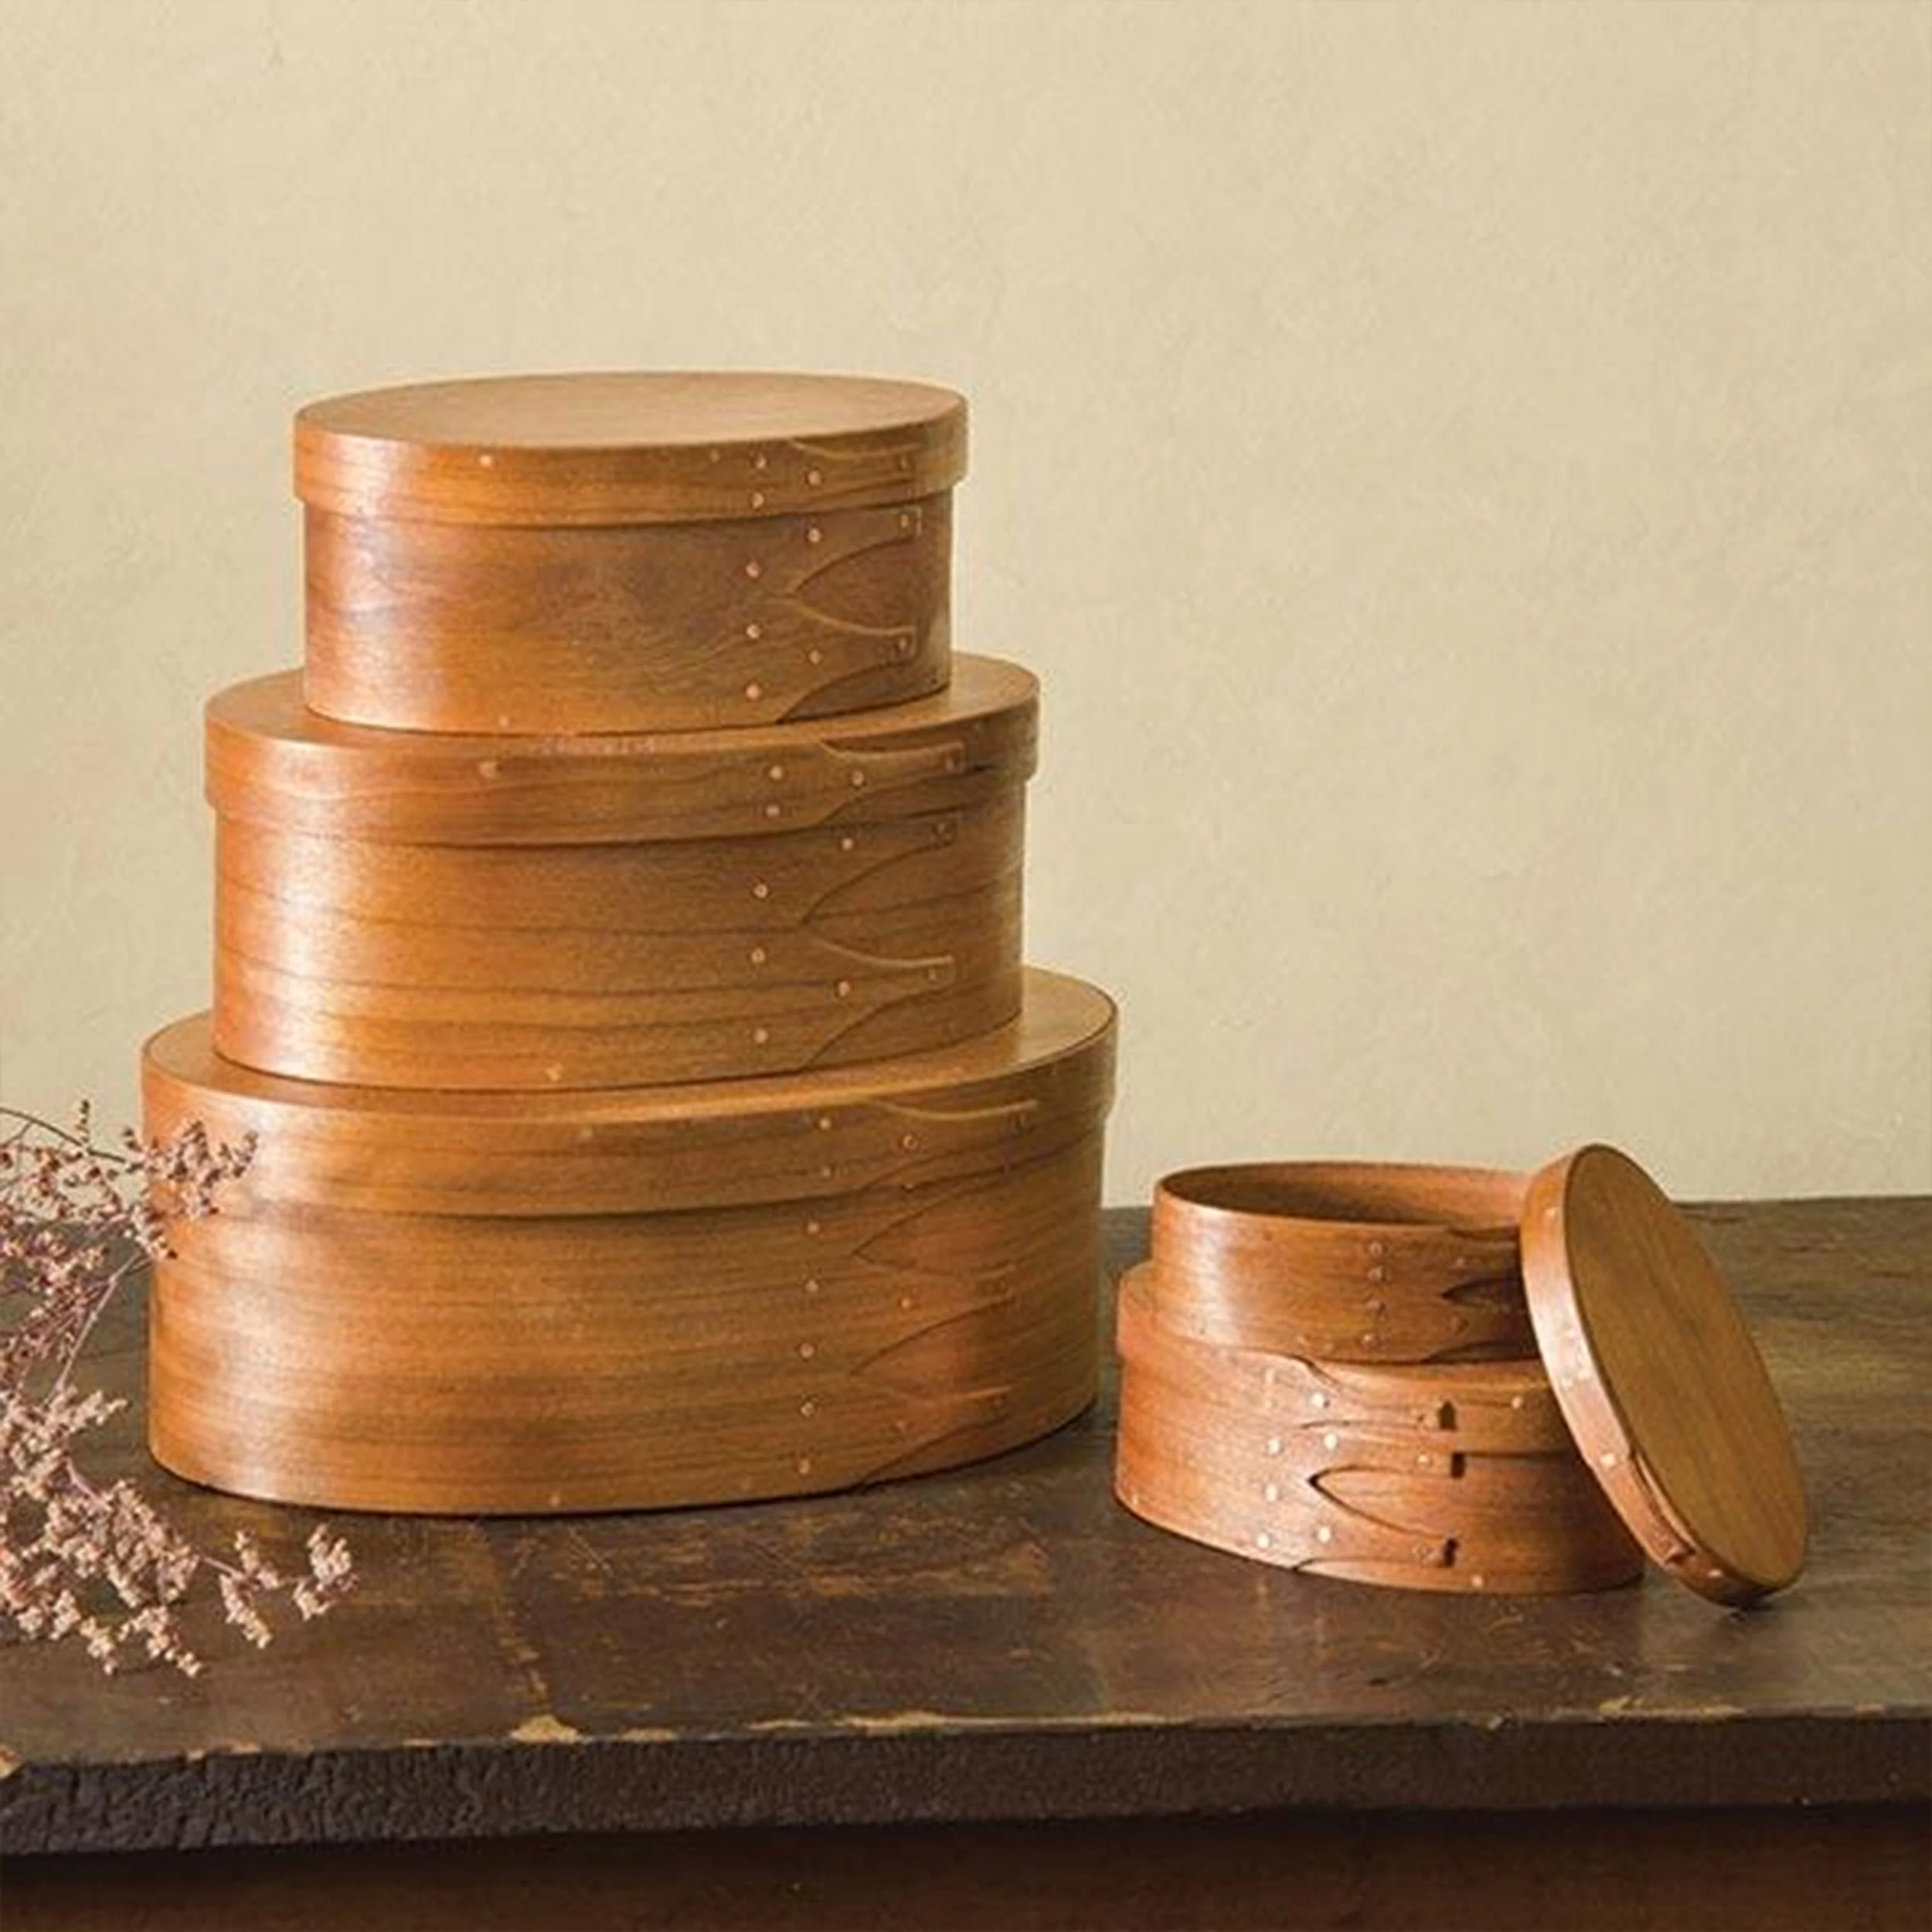
I like to build boxes in #0, #1, #2, #3, and #4 sizes, though several larger box sizes exist. When stacked, they’re quite eye-catching and don’t take up much display space. The boxes also nest within each other. That said, the #0 is small in size and easily splits due to the tighter bends. The #4 size requires a juggling act to get all the fingers aligned when driving the tacks. For these reasons, I’ll get you started by showing how to make a #2 box, as depicted in Figure 1. Once you gain confidence building this size, move on to the other sizes, trying boxes #1 and #3.
For the cherry bands in various box sizes, as well as the tacks used to fasten the ends of the bands together, see the Convenience-Plus Buying Guide. Buying the bands saves time. On the other hand, if you want to make your own bands, see “Cutting Your Own Box Bands” on page 50. For this, you’ll want a bandsaw and fence that’s set up for the perfect resawing.
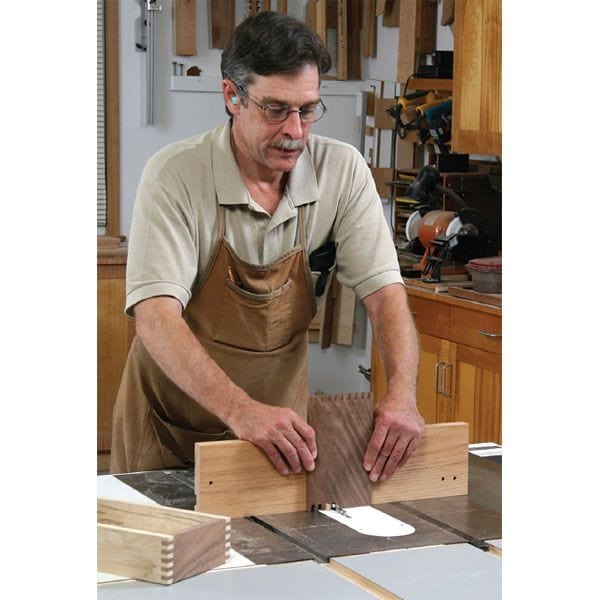
To make the boxes, I use a disc sander, drill, utility knife (with a new sharp blade), tack hammer, tongs, wire cutter, #10 mill file, glue, and toothpicks. You’ll also need a boiling box (available through the buying guide), a heat source, such as a pair of electric hot plates or a two-burner stove, and a shop-made anvil.
I like to build boxes in #0, #1, #2, #3, and #4 sizes, though several larger box sizes exist. When stacked, they’re quite eye-catching and don’t take up much display space. The boxes also nest within each other. That said, the #0 is small in size and easily splits due to the tighter bends. The #4 size requires a juggling act to get all the fingers aligned when driving the tacks. For these reasons, I’ll get you started by showing how to make a #2 box, as depicted in Figure 1. Once you gain confidence building this size, move on to the other sizes, trying boxes #1 and #3.
For the cherry bands in various box sizes, as well as the tacks used to fasten the ends of the bands together, see the Convenience-Plus Buying Guide. Buying the bands saves time. On the other hand, if you want to make your own bands, see “Cutting Your Own Box Bands” on page 50. For this, you’ll want a bandsaw and fence that’s set up for the perfect resawing.
To make the boxes, I use a disc sander, drill, utility knife (with a new sharp blade), tack hammer, tongs, wire cutter, #10 mill file, glue, and toothpicks. You’ll also need a boiling box (available through the buying guide), a heat source, such as a pair of electric hot plates or a two-burner stove, and a shop-made anvil.
$9.99
Shaker Nesting Boxes - Paper Plan—
$9.99
Product Information
Product Information
Shipping & Returns
Shipping & Returns
Description
Shaker lidded boxes have a traditional charm, simplicity, and utility rarely seen in other storage systems. I like the reddish hue of cherry to give the boxes a beautiful old-time look. I also like using cherry because of its bending ability when steamed. I prefer cherry for the box bottoms and lid tops, though you can substitute sycamore, hard maple, lacewood, or just about any wood for these parts for a unique look. Keep in mind that quartersawn stock is less susceptible to expansion.
I like to build boxes in #0, #1, #2, #3, and #4 sizes, though several larger box sizes exist. When stacked, they’re quite eye-catching and don’t take up much display space. The boxes also nest within each other. That said, the #0 is small in size and easily splits due to the tighter bends. The #4 size requires a juggling act to get all the fingers aligned when driving the tacks. For these reasons, I’ll get you started by showing how to make a #2 box, as depicted in Figure 1. Once you gain confidence building this size, move on to the other sizes, trying boxes #1 and #3.
For the cherry bands in various box sizes, as well as the tacks used to fasten the ends of the bands together, see the Convenience-Plus Buying Guide. Buying the bands saves time. On the other hand, if you want to make your own bands, see “Cutting Your Own Box Bands” on page 50. For this, you’ll want a bandsaw and fence that’s set up for the perfect resawing.
To make the boxes, I use a disc sander, drill, utility knife (with a new sharp blade), tack hammer, tongs, wire cutter, #10 mill file, glue, and toothpicks. You’ll also need a boiling box (available through the buying guide), a heat source, such as a pair of electric hot plates or a two-burner stove, and a shop-made anvil.